|

|

|

|

|
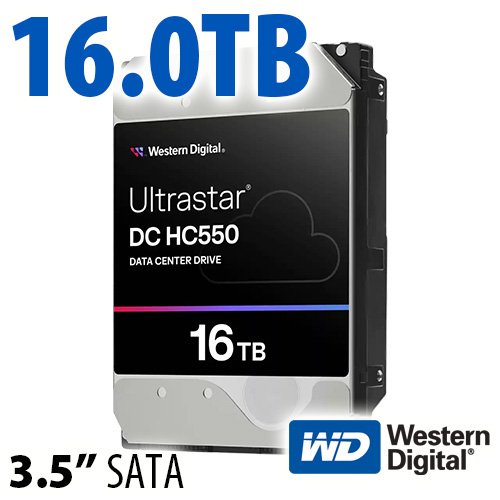
$220 SAVE $130 = 37.0% Western Digital 16.0TB Western Digital Ultrastar DC HC550 3.5-in… in Storage: Hard Drives
|
|

|
|

|
How to upgrade your system/boot drive
Related: backup, hard drive, How-To, iMac, laptop, Mac Pro
Want to install a newer, faster boot drive in your Mac?
(The “boot” drive is the one containing your system and applications.)
A new boot drive can be a very time-consuming task: installing a new system from scratch, reinstalling your applications, printer drivers, transferring your data, etc. It could take all day. Ouch.
Cloning to the rescue: not only can you switch your system to a faster, larger drive, you can do so with minimal effort and generally in less than an hour!
Choose a new drive
For a laptop, you will need a 2.5" SATA drive. Especially for a laptop, choose the largest capacity drive because you need more space than you need. Also, choose a 7200 rpm drive for higher performance. Or you might find that a solid state drive will fit your needs. View laptop hard drives
For a Mac Pro, the choice is highly flexible, with a variety of options. If you’re setting up a serious workstation consider a consultation to discuss performance, reliability and backup. For the Mac Pro, choose only 1TB or larger 7200rpm drives for performance reasons.
For an iMac, get professional installation (one good reason to avoid an iMac, details). Be sure to clone your boot drive first, so you can clone it back to the new internal drive.
Clone your boot drive to the new drive
How to do so is described in How to clone a drive/volume, including how to connect the drive.
Cloning is easy, and also a great way to make a bootable backup of your system drive.
Install the new drive
If this is an upgrade for a laptop or iMac, swap the old drive with the new one. This generally requires just a small Phillips screwdriver
If it was a Mac Pro, you probably already installed the drive internally. But if not, then install/swap as appropriate.
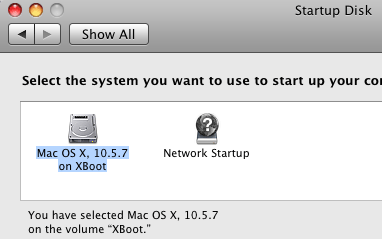
Set the startup volume
Be sure to set the startup disk (a misnomer, it’s really the startup volume). If you have both the old and new boot drive attached, you’ll see both of them here; choose the new one.
Open , then choose to set the desired drive as the startup drive.
You might want to also disconnect or remove the older boot drive, to avoid confusion (this is why using different names is also a good idea).
Connecting and initializing a new drive PERMALINK
You’ll need to connect the new drive to your Mac. With a bare drive to be installed internally (eg in a MacBook or MacBook Pro), it won’t have an enclosure (case); it will be a bare hard drive.
The Voyager Q drive dock comes to the rescue for bare hard drives: just insert the drive into the slot. You can also use the Voyager Q for a simple but cost effective backup strategy; it’s handy, and a worthwhile investment.
Alternately, the new drive might already be in its own enclosure for external use, connected (for example) via USB or Firewire. It doesn’t matter how it’s connected, so long as it is.
Erasing a brand-new drive
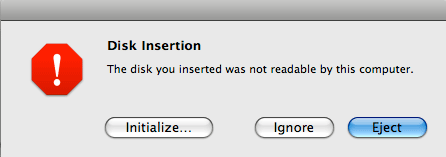
When a brand-new hard drive is connected, Mac OS X asks whether to initialize it.
Click to bring up Apple’s Disk Utility, erase the drive, then proceed with the clone.
Erasing will create a single volume (single partition) by default; you can partition the drive if there is a good reason to do so; in that case more than one volume will appear on your desktop.
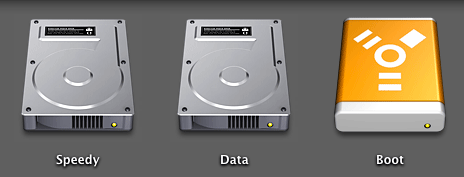
To avoid confusion, choose a different name (at least temporarily) for the new volume(s). My boot drive is named , so the new one might be . Later, the name can be changed back to (eg if I’ve swapped drives).
Seagate 22TB IronWolf Pro 7200 rpm SATA III 3.5" Internal NAS HDD (CMR)
SAVE $100

 diglloydTools™
